The Secret Language of Your ATV
Modern ATVs are smarter than ever. Beneath the plastics, mud tires, racks, and rugged suspension, today’s machines use sensors, computers, and electronic control systems to monitor engine performance in real time. When something goes wrong, your ATV often tries to tell you exactly where to look through trouble codes. Learning how to read ATV trouble codes turns confusion into confidence. Instead of guessing at random parts, you can follow clues from the machine itself. Whether your ATV has a check engine light, blinking warning lamp, digital display code, or scanner-readable fault, understanding those signals helps you diagnose problems faster, spend less on unnecessary repairs, and get back to the trail with a smarter plan.
A: No. Codes vary by brand, model, year, and electronic system.
A: Sometimes, but many ATVs require powersports-specific scanners or adapter cables.
A: No. Record the code and symptoms before clearing anything.
A: No. Wiring, connectors, voltage, and grounds can also trigger sensor codes.
A: The underlying problem is likely still active.
A: Limp mode reduces performance to protect the engine or drivetrain from damage.
A: Yes. Weak batteries and charging issues can create misleading codes.
A: It is often under the seat, behind side panels, near the battery, or close to the ECU.
A: Match it to the service manual, inspect the related system, and test before replacing parts.
A: Get professional help for ECU faults, repeated limp mode, complex wiring issues, or advanced fuel injection problems.
What ATV Trouble Codes Actually Mean
ATV trouble codes are diagnostic messages created by the machine’s electronic control system. When a sensor reports information outside the expected range, the ECU or engine control module stores a fault code. That code points toward the system where the problem was detected.
A trouble code does not always mean a specific part is bad. It means the ATV noticed something unusual in a circuit, sensor reading, or operating condition. For example, a throttle position sensor code may be caused by a failing sensor, damaged wiring, poor connection, or incorrect voltage signal. Reading codes like a pro means treating them as clues, not final verdicts.
Why Trouble Codes Matter for ATV Owners
Trouble codes save time because they narrow the search area. Without them, a rough-running ATV might send you chasing fuel, spark, compression, air intake, and electrical issues all at once. With codes, you can begin in the area the machine has already flagged. They also help prevent bigger damage. An overheating code, lean fuel mixture warning, or sensor failure can reveal a small issue before it becomes an expensive engine repair. Riders who learn basic code reading often catch problems early, especially after deep mud rides, water crossings, hard towing, or long storage periods.
The Difference Between Active and Stored Codes
Not every code means the problem is happening right now. Active codes are current faults the ATV still detects. Stored codes are previous faults saved in memory after the issue occurred. Some machines also keep pending codes, which appear when a problem has been detected but has not repeated enough times to trigger a full warning.
This distinction matters. A stored code from an old loose connector may not need repair if the ATV now runs normally. An active code, however, deserves immediate attention. Before clearing codes, write them down so you have a diagnostic record if the problem returns later.
Dashboard Warning Lights and Digital Codes
Many newer ATVs display codes directly on the instrument cluster. Some show a check engine icon, then reveal a numeric or alphanumeric code after a button sequence. Others use flashing lights that must be counted carefully. The owner’s manual is your best friend here because every brand uses its own access method. Polaris, Can-Am, Honda, Yamaha, Kawasaki, and Suzuki models can all handle code display differently. A professional approach starts with finding the exact model-year procedure instead of assuming all ATVs use the same system.
Blink Codes and How to Count Them
Older or simpler ATVs may use blink codes instead of a digital code screen. A warning light flashes in a pattern, pauses, and then repeats. Long flashes may represent tens, while short flashes represent ones. For example, two long flashes and three short flashes might indicate code 23 on some systems.
Counting blink codes requires patience. Watch the full sequence several times before writing it down. If you rush, it is easy to mistake one code for another. Good lighting, a quiet environment, and a phone video can help you replay the pattern accurately.
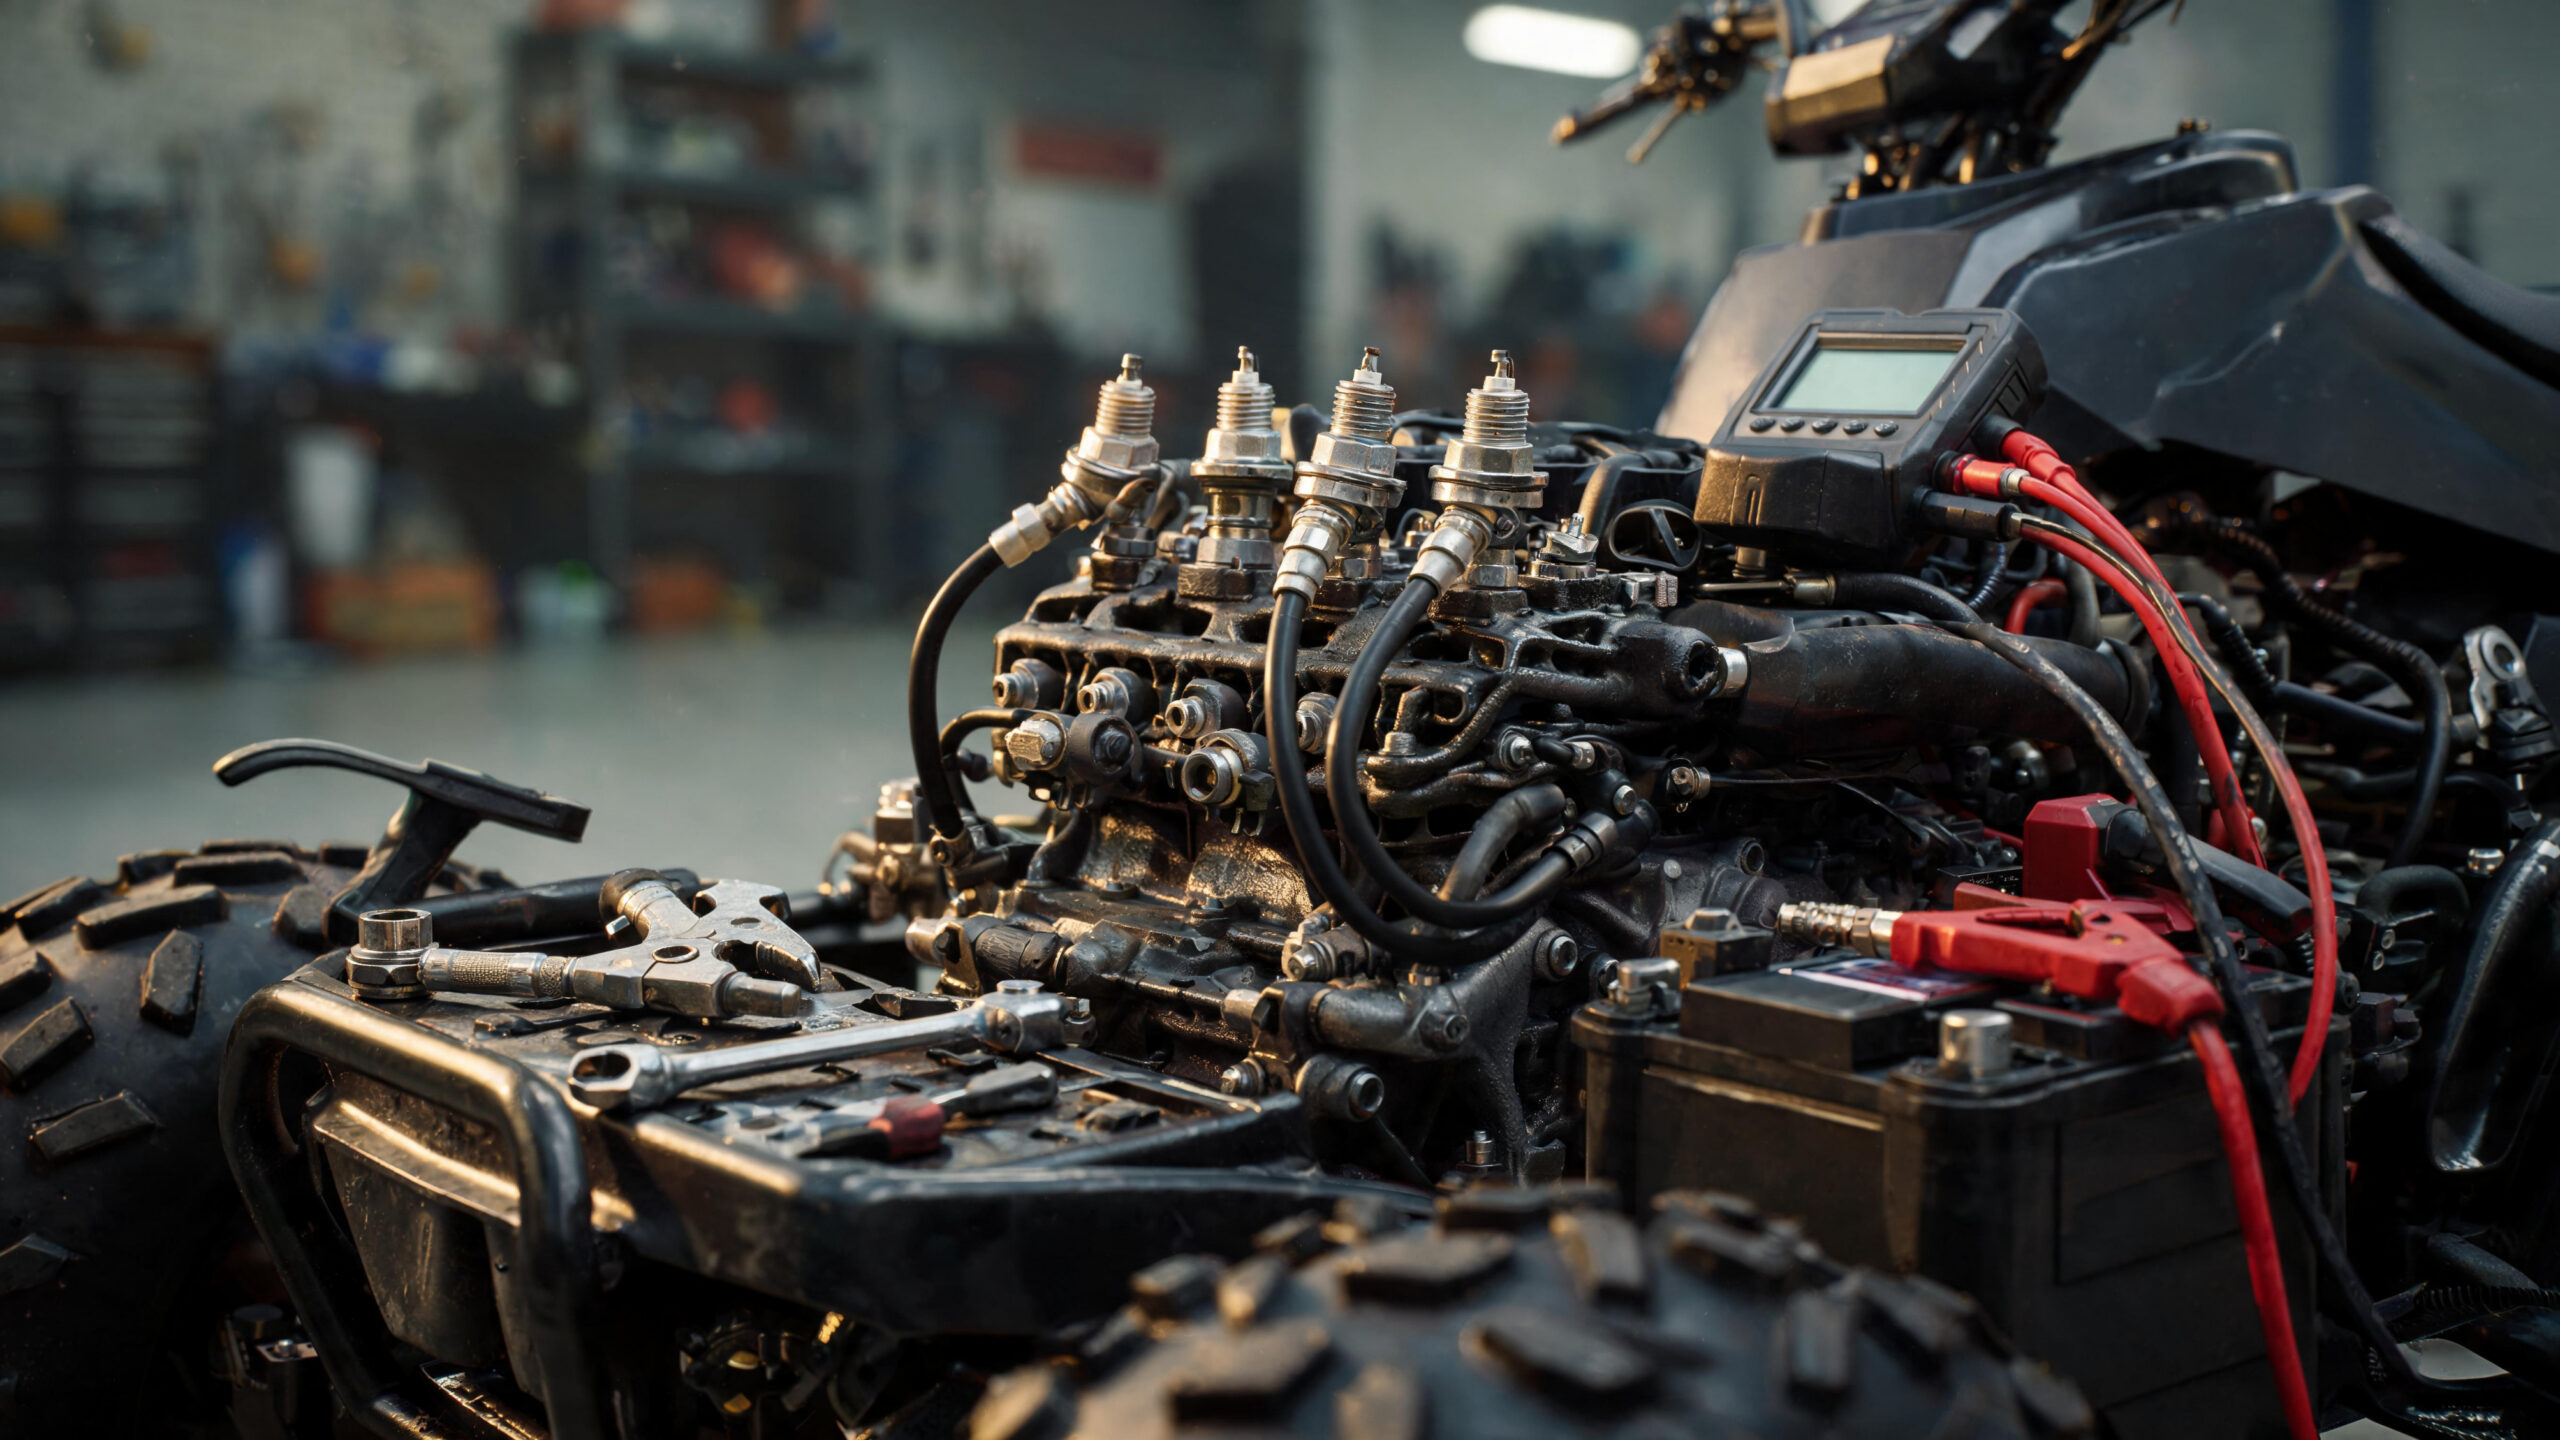
Using an ATV Diagnostic Scanner
A diagnostic scanner can make code reading much easier, especially on fuel-injected ATVs. Depending on the model, you may need a brand-specific scan tool, adapter cable, or powersports-compatible diagnostic reader. Automotive OBD-II scanners do not automatically work on every ATV because connector types and communication systems vary. A scanner may show active codes, stored codes, sensor data, voltage readings, throttle position values, coolant temperature, and other live information. This is where diagnostics become powerful. A code tells you where to look, but live data helps you see what the machine is actually doing.
Finding the Diagnostic Connector
The diagnostic port is often hidden under the seat, behind a side panel, near the battery, or close to the ECU. On utility ATVs, it may be tucked away to protect it from mud and water. Sport models may place it closer to the wiring harness near the front or center of the machine.
Before plugging in any scanner, inspect the connector for mud, bent pins, moisture, or corrosion. A dirty diagnostic plug can create communication problems or misleading results. Cleaning and protecting connectors with proper electrical care is part of professional-level troubleshooting.
Common ATV Trouble Code Categories
Most trouble codes fall into familiar categories: fuel system, ignition system, air intake, cooling system, charging system, throttle control, transmission, and sensor circuits. Understanding the category helps you interpret the code more intelligently. A fuel-related code may involve injectors, fuel pressure, oxygen sensor readings, or mixture control. A cooling code may involve coolant temperature sensors, fan circuits, or overheating conditions. A throttle code may involve the throttle position sensor, pedal sensor, cable adjustment, or wiring harness. The code category gives you the map before you start the hunt.
Sensor Codes Do Not Always Mean Bad Sensors
One of the biggest mistakes riders make is replacing every sensor named by a code. A sensor code can appear because the sensor is unplugged, the wire is broken, the connector is corroded, the voltage supply is weak, or the ECU is receiving a signal outside normal range.
For example, a coolant temperature sensor code may be triggered by a disconnected plug after maintenance. A throttle position sensor code may come from water intrusion inside a connector. Professional troubleshooting means testing the circuit before buying parts.
Reading Codes After Mud and Water Riding
Mud and water are brutal on ATV electronics. After a wet ride, trouble codes may appear because moisture entered connectors, sensors, switches, or the fuse box. Even a small amount of corrosion can change resistance and confuse the ECU. If codes appear after water exposure, inspect connectors first. Look for trapped moisture, green corrosion, loose seals, damaged wires, or mud-packed plugs. Drying, cleaning, and protecting the connection may solve the problem without replacing expensive components.
Low Voltage Can Create False Trouble Codes
A weak battery can create a storm of confusing fault codes. Modern ATVs rely on stable voltage for accurate sensor readings. When voltage drops during cranking or riding, the ECU may detect abnormal signals from multiple systems at once.
Before chasing several codes, test the battery and charging system. A low-voltage condition can make good sensors look bad. If the battery is weak, terminals are corroded, or the stator is failing, fix the power issue first and then recheck the codes.
Freeze Frame and Live Data Clues
Some diagnostic tools show freeze frame data, which captures operating conditions when a fault occurred. This may include engine temperature, RPM, throttle position, voltage, or speed. That snapshot can explain why a code appeared. Live data is even more useful. You can watch sensor readings change as the engine runs, throttle opens, or temperature rises. If a sensor reading jumps wildly, stays frozen, or shows impossible values, you have a stronger clue about the real problem.
Clearing Codes the Smart Way
Clearing codes without diagnosing them is like erasing footprints before tracking the animal. Always write down the code number, description, and riding conditions before clearing anything. Include details like weather, water crossings, recent repairs, fuel quality, and whether the ATV ran normally.
After repairs, clear the code and ride or run the machine through the same conditions that triggered the fault. If the code returns, the issue is still active. If it stays gone, the repair likely solved the problem.
Manufacturer-Specific Code Charts
ATV trouble codes are not universal across all brands. The same number can mean different things depending on manufacturer, model, and year. That is why using the correct service manual or reliable code chart is essential. A pro-level approach always matches the code to the exact ATV. Guessing based on a different model can lead to wrong repairs. If your ATV is fuel injected, has electronic power steering, ride modes, or digital throttle systems, model-specific information becomes even more important.
Trouble Codes and Limp Mode
Some ATVs enter limp mode when the ECU detects a serious issue. Limp mode reduces power to protect the engine, transmission, or drivetrain. The ATV may run poorly, limit RPM, refuse full throttle, or feel unusually weak.
Limp mode is not the problem itself. It is the machine’s protective response. Reading the trouble code helps identify why the ATV entered that state. Common causes include overheating, throttle sensor faults, low voltage, speed sensor issues, and critical engine management problems.
Building a Diagnostic Routine
A strong diagnostic routine begins with observation. Note whether the ATV starts, idles, stalls, overheats, misfires, loses power, or refuses throttle. Then read the codes, inspect the related area, test basic electrical health, and verify the problem before replacing parts. The best troubleshooters work in a logical order. They check battery voltage before sensors, connectors before computers, and simple causes before expensive parts. This discipline separates professional diagnostics from random guessing.
Tools That Make Code Reading Easier
A good ATV diagnostic setup does not need to be complicated. A model-compatible scanner, multimeter, spark tester, battery tester, service manual, and basic hand tools can handle many common problems. A phone is useful too because you can photograph codes, record blink patterns, and document connector locations.
Dielectric grease, contact cleaner, small brushes, and zip ties are also valuable for electrical maintenance. Many trouble code issues come from connection problems rather than failed electronics. Keeping the wiring system clean and secure improves long-term reliability.
When to Call a Professional
Some codes require deeper testing than most riders can perform at home. ECU faults, advanced fuel injection problems, electronic power steering codes, internal transmission codes, and repeated low-voltage faults may need professional diagnostic equipment. Getting help does not mean giving up. It means knowing when the problem requires specialized tools or experience. A professional technician can often confirm the issue quickly, especially if you provide the code history, symptoms, and conditions that caused the warning light.
Ride Smarter With Code Confidence
Reading ATV trouble codes like a pro is about more than plugging in a scanner. It is about understanding what the machine is trying to communicate. Codes reveal patterns, point toward systems, and help riders avoid wasteful repairs.
Once you learn how to capture, interpret, test, and verify trouble codes, your ATV becomes less mysterious and more manageable. Warning lights stop feeling like panic signals and start becoming useful information. With the right mindset and method, you can diagnose smarter, maintain better, and ride with more confidence every time the trail calls.