ATV Electrical Systems Control Starting, Charging, Lighting, Fueling, And Accessories
An ATV electrical system ties together the battery, starter, charging system, ignition, lights, sensors, switches, relays, fuses, wiring harness, and accessories. When it is healthy, the machine starts cleanly, charges properly, powers lights, runs fuel injection where equipped, and supports winches or heated gear. When it is neglected, small wiring issues can look like major mechanical failures.
A: Follow the manual and inspect sooner after harsh riding.
A: A new feel, sound, smell, leak, heat issue, or warning light.
A: Yes. Mud adds grit, moisture, heat, and hidden wear.
A: No. Restore the baseline first, then decide if upgrades are useful.
A: Yes, especially after water, rocks, towing, heat, or heavy loads.
A: Dates, hours, parts, fluids, settings, and symptoms are all useful.
A: Use caution on safety, sealing, steering, suspension, brake, and drivetrain parts.
A: Working does not mean healthy; inspect when symptoms change.
A: Get help for uncertain brakes, steering, wiring, fuel leaks, or structural issues.
A: Inspect early, fix small problems, and test before riding remote terrain.
The Electrical System In Plain Terms
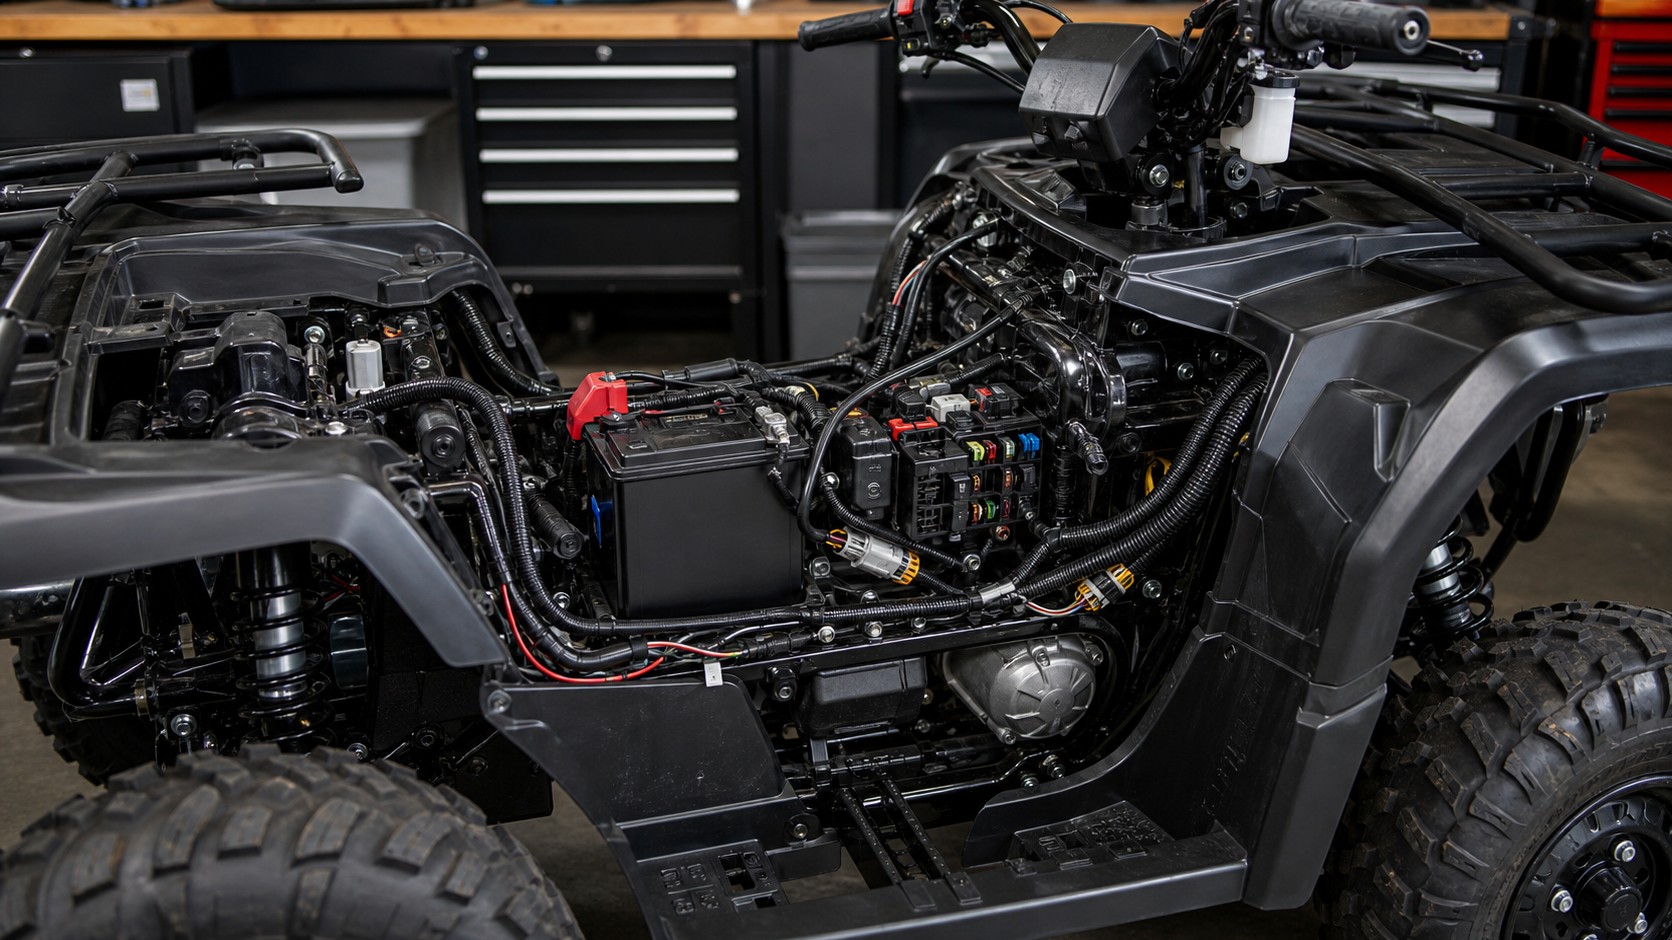
An ATV electrical system stores energy, starts the engine, charges while running, powers lights and accessories, and controls ignition or fuel injection depending on the model. It includes the battery, starter, solenoid, stator or alternator, regulator-rectifier, fuses, relays, switches, sensors, grounds, and wiring harness.
Because all of those parts are connected, one weak point can create confusing symptoms. A poor ground can look like a bad starter. A weak battery can look like a fuel issue on an EFI machine. A corroded connector can make a fan, light, or sensor fail only sometimes.
Battery Health
The battery is the starting point for most electrical diagnosis. It must hold enough charge to crank the engine and stabilize voltage for electronics. Cold weather, age, vibration, parasitic draw, poor storage, and repeated winch use can weaken it.
A battery can show voltage with no load and still fail under cranking. Testing should include resting voltage, cranking behavior, terminal condition, and charging voltage with the engine running. Replacing random parts before checking the battery wastes time.
Starting Circuit
The starting circuit usually includes the battery, starter button or switch, safety interlocks, solenoid, cables, grounds, and starter motor. A click may point to low voltage, a weak solenoid, bad cables, or a starter issue. No click may point to switches, fuses, relays, interlocks, or wiring.
Clean, tight battery cables and grounds are simple but important. Corrosion increases resistance and turns electrical power into heat instead of useful work. Many starting problems improve after basic connection service.
Charging System
The charging system replaces energy used by starting and accessories. Many ATVs use a stator and regulator-rectifier. If charging is weak, the ATV may start fine at home and fail after lights, fans, or winch use on the trail. If voltage is too high, bulbs, batteries, and electronics can suffer.
Charging diagnosis should follow the service manual because tests vary by model. Owners should measure voltage, inspect connectors, and avoid assuming every dead battery is only a battery problem.
Fuses, Relays, And Protection
Fuses protect wiring from excessive current. A blown fuse is not the problem by itself; it is a clue that a circuit drew too much current or shorted. Replacing a fuse repeatedly without finding the cause risks wiring damage.
Relays let small switches control heavier loads such as fans, fuel pumps, or lights. A failed relay can mimic a bad component. Swapping identical relays for testing may help, but the better habit is to confirm power, ground, and control signal.
Grounds And Connectors
Grounds complete circuits. A loose or corroded ground can cause dim lights, slow cranking, sensor errors, intermittent shutoffs, or accessories that behave strangely. Grounds are often exposed to water, mud, vibration, and paint.
Connectors should be clean, seated, and protected. Water intrusion creates intermittent faults that are hard to find later. Dielectric grease can help protect appropriate connectors, but broken locks, pulled pins, and poor splices should be repaired correctly.
Fuel Injection And Sensors
Fuel-injected ATVs depend more heavily on stable electrical power than older carbureted machines. Fuel pumps, injectors, throttle sensors, temperature sensors, crank sensors, and electronic control units need clean signals. Low voltage can cause symptoms that feel like fuel starvation or ignition failure.
When an EFI ATV runs poorly, check battery and charging health before chasing deeper problems. Diagnostic codes, where available, are useful clues, but they still need careful interpretation. A code may identify a circuit, not prove a single part is bad.
Accessories And Load Management
Winches, light bars, heated grips, sprayers, sound systems, and GPS units add demand. Accessories should be fused, relayed where appropriate, connected through quality wiring, and routed away from exhaust, steering, suspension, and sharp edges.
The charging system has limits. A large light bar and winch use can drain a battery faster than the machine can recharge it. Owners should understand electrical load instead of assuming every accessory can run at once.
Troubleshooting Habits
Start with symptoms, then test. Does the problem happen cold, hot, wet, after bumps, with lights on, or only when the fan starts? Those patterns narrow the search. A multimeter and wiring diagram are better than guessing.
Good repairs are tidy and weather resistant. Avoid twisted wires under tape, undersized wire, unfused power leads, and connectors dangling near heat. Electrical repairs should look boring because boring wiring usually survives.
Bottom Line
ATV electrical systems are central to starting, charging, lighting, fuel delivery, cooling fan control, and accessories. A small wiring fault can create big frustration, especially on modern EFI machines.
Maintain the battery, protect connectors, clean grounds, fuse accessories correctly, and diagnose with voltage tests before replacing parts. Reliable electricity keeps the rest of the ATV honest.
Why Electrical Problems Feel Confusing
Electrical faults can appear and disappear because vibration, moisture, temperature, and steering movement change the connection. A wire may work in the garage and fail on the trail. A connector may pass voltage until the fan starts. A weak ground may make several unrelated components act strange.
This is why diagnosis should be methodical. Instead of replacing the most expensive part, start with power, ground, fuses, connectors, and the conditions that trigger the symptom. The goal is to prove the circuit, not guess the part.
Water, Mud, And Corrosion
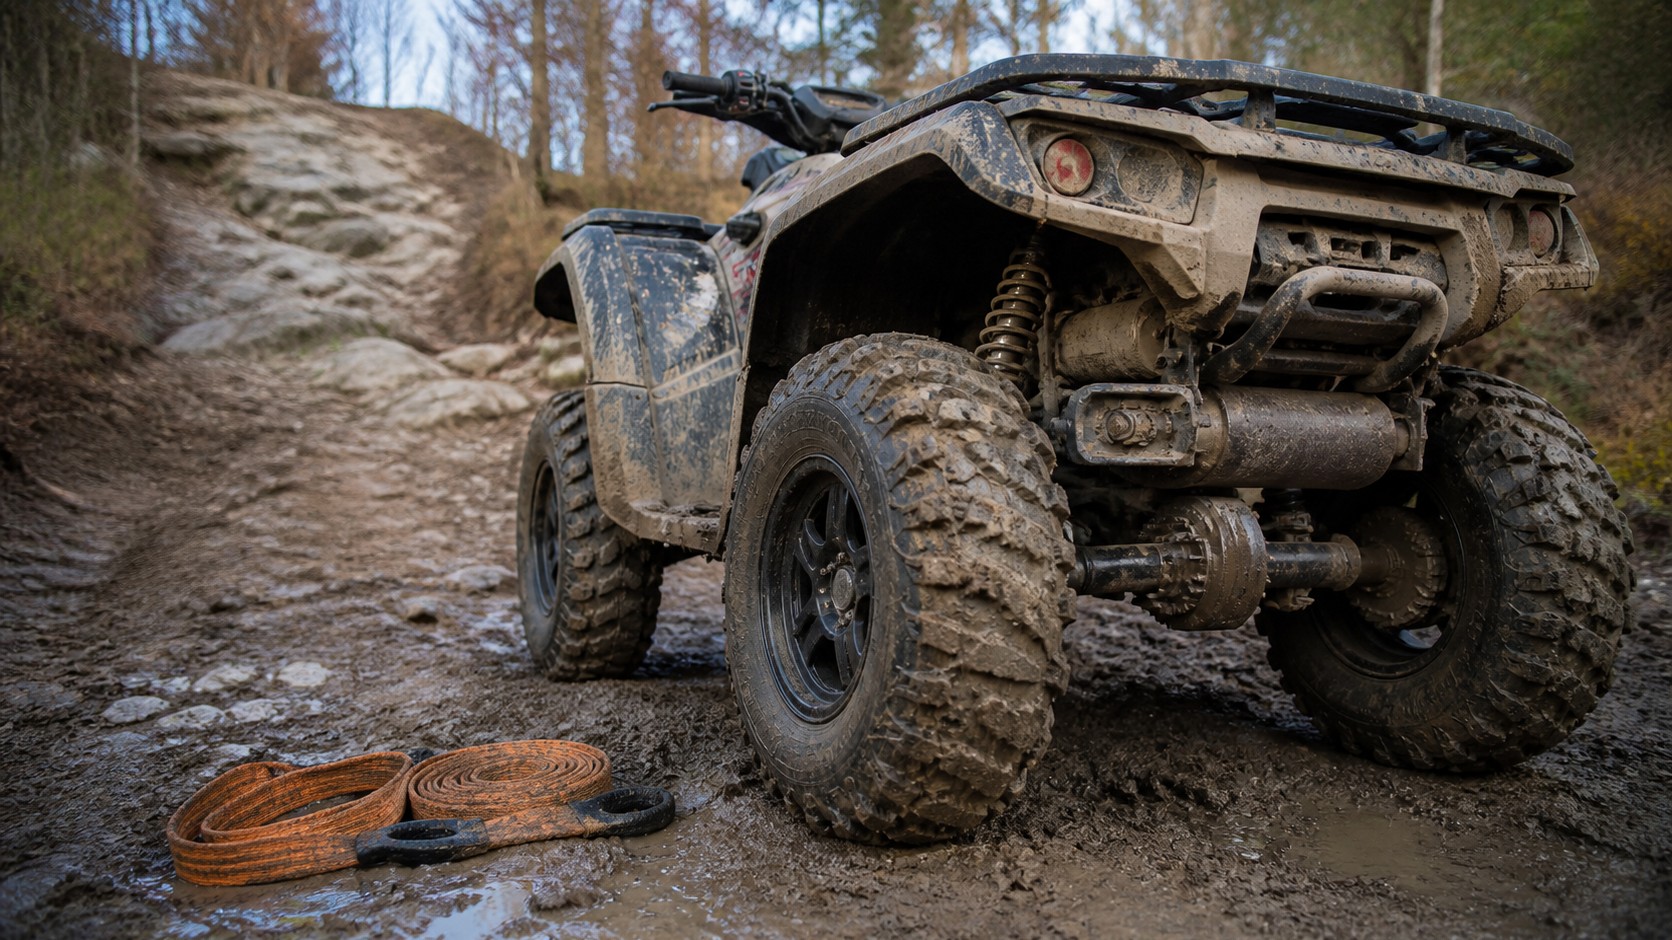
ATVs live in wet and dirty places, so connectors and grounds need protection. Mud holds moisture against plugs. Water crossings can push contamination into switches. Salt and fertilizer can corrode terminals quickly. Electrical reliability depends on keeping connections clean and sealed.
After deep water or heavy mud, inspect exposed connectors, battery terminals, winch leads, fan wiring, and accessory splices. Drying and protecting these areas is easier than diagnosing intermittent faults months later.
Winches And Heavy Draw Accessories
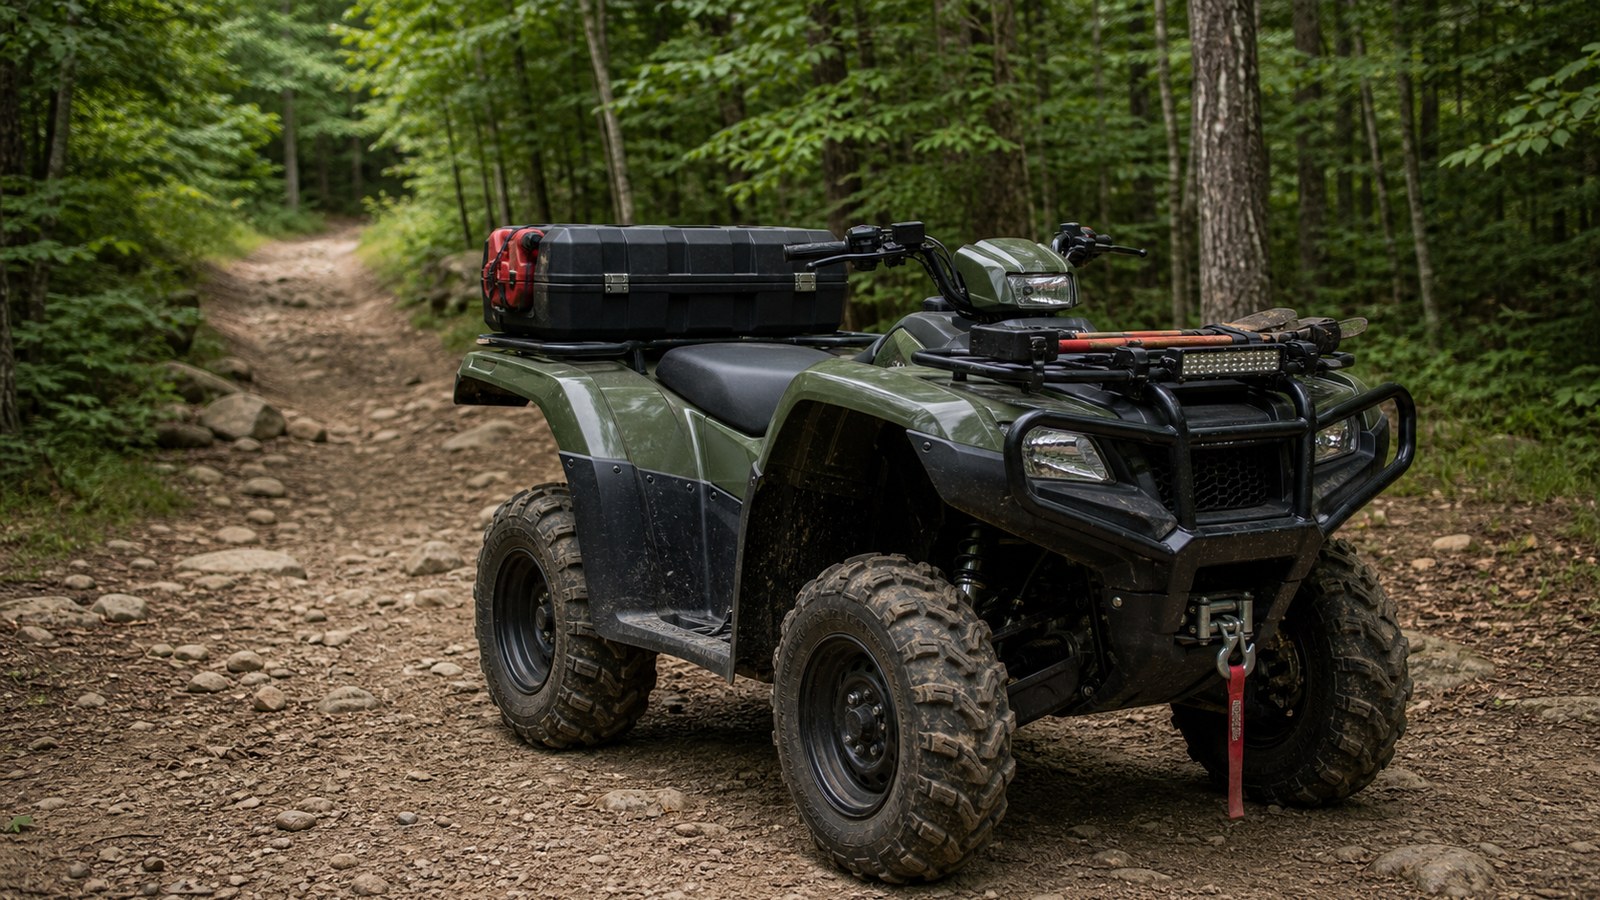
A winch can draw far more current than ordinary lights or electronics. Long pulls can drain the battery, heat cables, and stress connections. Winch wiring should use the correct gauge, clean terminals, proper routing, and secure mounting. The battery should be healthy before the winch is trusted.
Light bars and heated accessories also add load. They should be controlled by proper switches, relays where needed, and fuses close to the power source. Unfused accessory wiring is one of the easiest ways to turn a small add-on into a serious failure.
Using A Multimeter
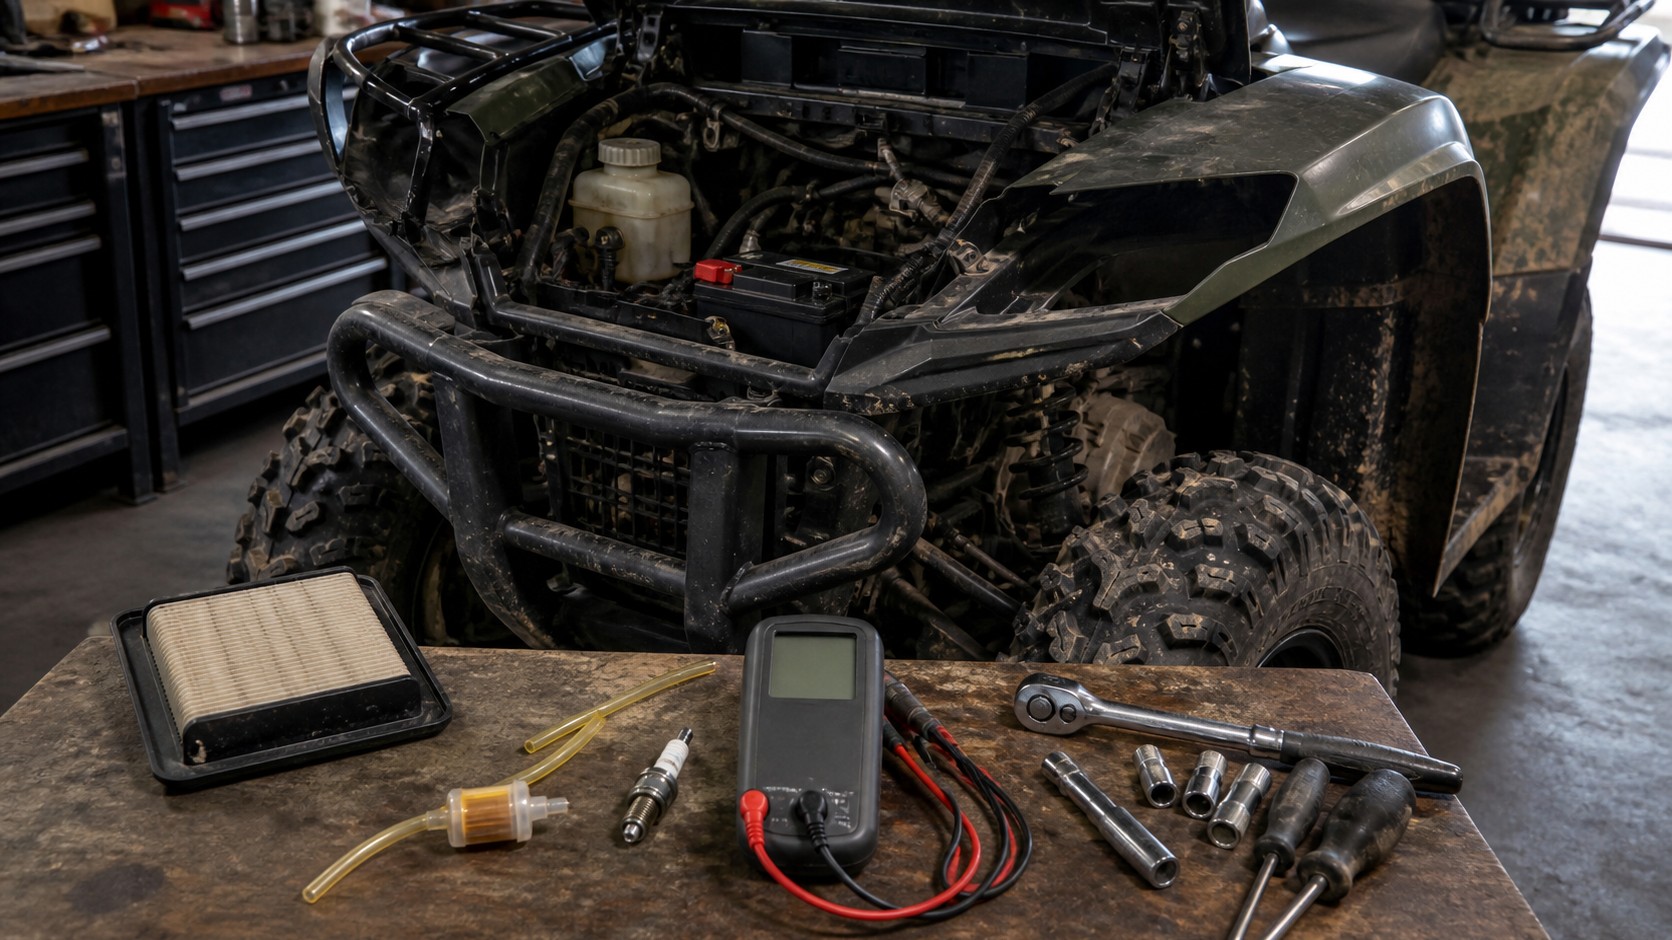
A basic multimeter helps separate fact from guessing. It can show resting battery voltage, cranking voltage drop, charging voltage, continuity, and whether power reaches a component. Those tests often reveal bad connections faster than visual inspection alone.
Owners do not need to become electrical engineers to improve diagnosis. Learning a few voltage checks, reading the wiring diagram, and testing grounds can prevent unnecessary parts replacement and make trail repairs less stressful.
Preventive Electrical Maintenance
Keep the battery charged during storage, clean terminals, tighten grounds, protect connectors, secure loose wires, and inspect harness routing where it passes near steering, suspension, exhaust, and racks. Vibration can saw through insulation if wiring is allowed to rub.
After accessory installation, recheck the work after a few rides. Zip ties can loosen, wires can settle near heat, and terminals can relax. A neat harness is not only cosmetic; it protects the circuits the ATV depends on.
When Electrical Issues Appear On The Trail
Trail electrical issues often begin after vibration, water, or heat exposes a weak connection. A machine may start normally at home, then refuse to restart after a break. Lights may flicker after a splash. A fan may stop because a connector is packed with mud. These problems are frustrating because they can feel random.
A small trail kit can help: spare fuses, basic tools, a compact jump pack where appropriate, and enough knowledge to find the battery, fuse box, and main grounds. The best repair is still prevention, but simple checks can keep a minor fault from ending a ride.
Electrical Work Should Be Neat
Neat wiring is reliable wiring. Wires should be supported, protected from sharp edges, kept away from exhaust, and given enough slack for steering and suspension movement. Connections should be weather resistant and sized for the current they carry. Tape alone is not a lasting repair in mud and vibration.
Whenever an accessory is added, label or document the circuit. Months later, that small note can save time when diagnosing a blown fuse, dead battery, or switch that no longer works.
Used ATV Electrical Inspection
A used ATV electrical inspection should start before the engine is running. Check battery age, terminal cleanliness, fuse box condition, accessory wiring, winch leads, light switches, and harness routing. Messy wiring is a warning because it often means previous problems were patched instead of solved.
Then test the machine hot and cold. Confirm that it cranks strongly, charges while running, powers lights, runs the fan, and restarts after a ride. Electrical issues often appear only after vibration and heat have had time to expose weak connections.
Final Electrical Reminder
Electrical reliability comes from clean power and clean routing. A healthy battery, tight grounds, protected connectors, and properly fused accessories prevent many failures that otherwise look mysterious on the trail.
FAQ
What causes most ATV electrical problems?
Weak batteries, corroded terminals, loose grounds, damaged wires, blown fuses, and poor accessory wiring are common causes.
Can low voltage affect fuel injection?
Yes. EFI systems need stable voltage for pumps, injectors, sensors, and control modules.
How should accessories be wired?
Use proper wire size, fuses, relays where needed, weatherproof connections, and routing away from heat and moving parts.